
Introduction
Mushrooms are one of the easiest and most rewarding crops you can grow right at home. With just a little space and the right conditions, you can enjoy fresh, organic, and chemical-free mushrooms for your kitchen. Whether you’re growing mushrooms for personal use or as the first step toward a business, this guide will walk you through the basics of mushroom cultivation at home.
Why Grow Mushrooms at Home?
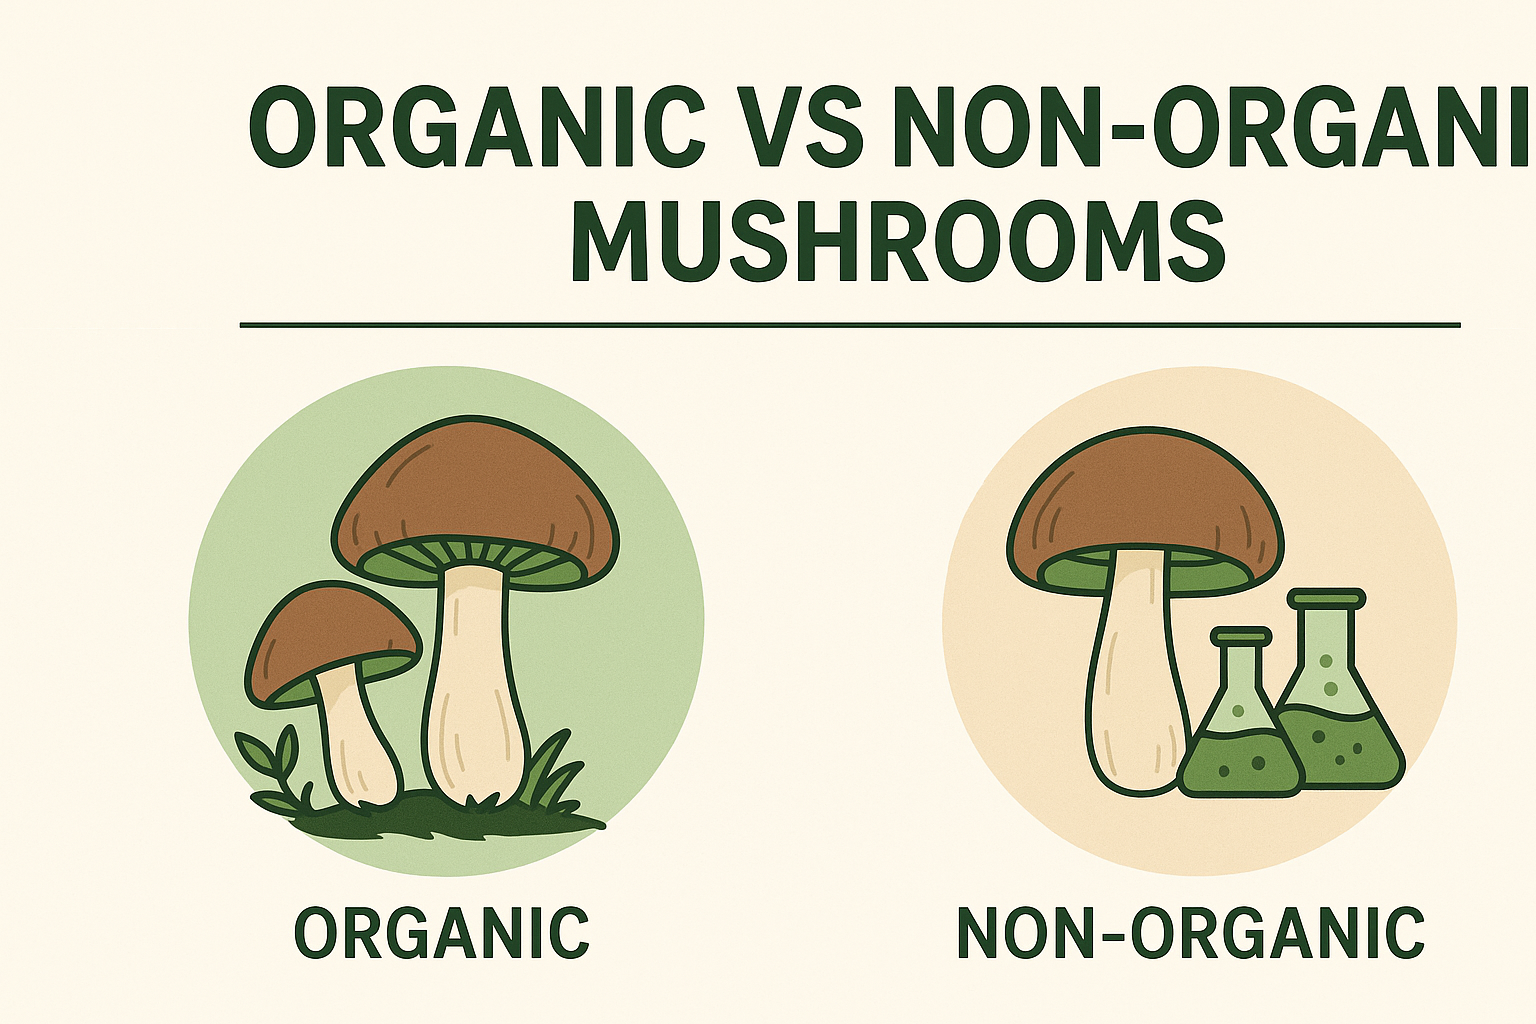
- Fresh and Healthy – You get chemical-free, organic mushrooms straight from your own setup.
- Cost-Effective – Growing mushrooms at home can save money compared to buying them at the market.
- Year-Round Availability – With the right setup, mushrooms can be grown throughout the year.
- Small Space Requirement – Mushrooms don’t need large farms; a small room, garage, or balcony corner is enough.
- Satisfying Hobby – It’s a fun and fulfilling way to connect with nature while producing food.
Choosing the Right Mushroom Variety
If you’re new to mushroom cultivation, start with varieties that are easy to grow:
- Oyster Mushrooms: Beginner-friendly, quick growth, and very productive.
- Button Mushrooms: The most common and widely consumed variety.
- Milky Mushrooms: Well-suited for Indian climates.
- Shiitake Mushrooms: High in demand but slightly more advanced to grow.
Basic Requirements for Growing Mushrooms at Home
- Growing Space: A cool, dark, and humid area like a basement, spare room, or even a shaded balcony.
- Temperature & Humidity: Mushrooms grow best between 20°C–28°C with humidity around 80–90%.
- Substrate: The growing medium — usually straw, sawdust, or coco peat.
- Mushroom Spawn (Seeds): High-quality spawn is the foundation of good yield.
- Clean Environment: Mushrooms are delicate, so cleanliness prevents contamination.
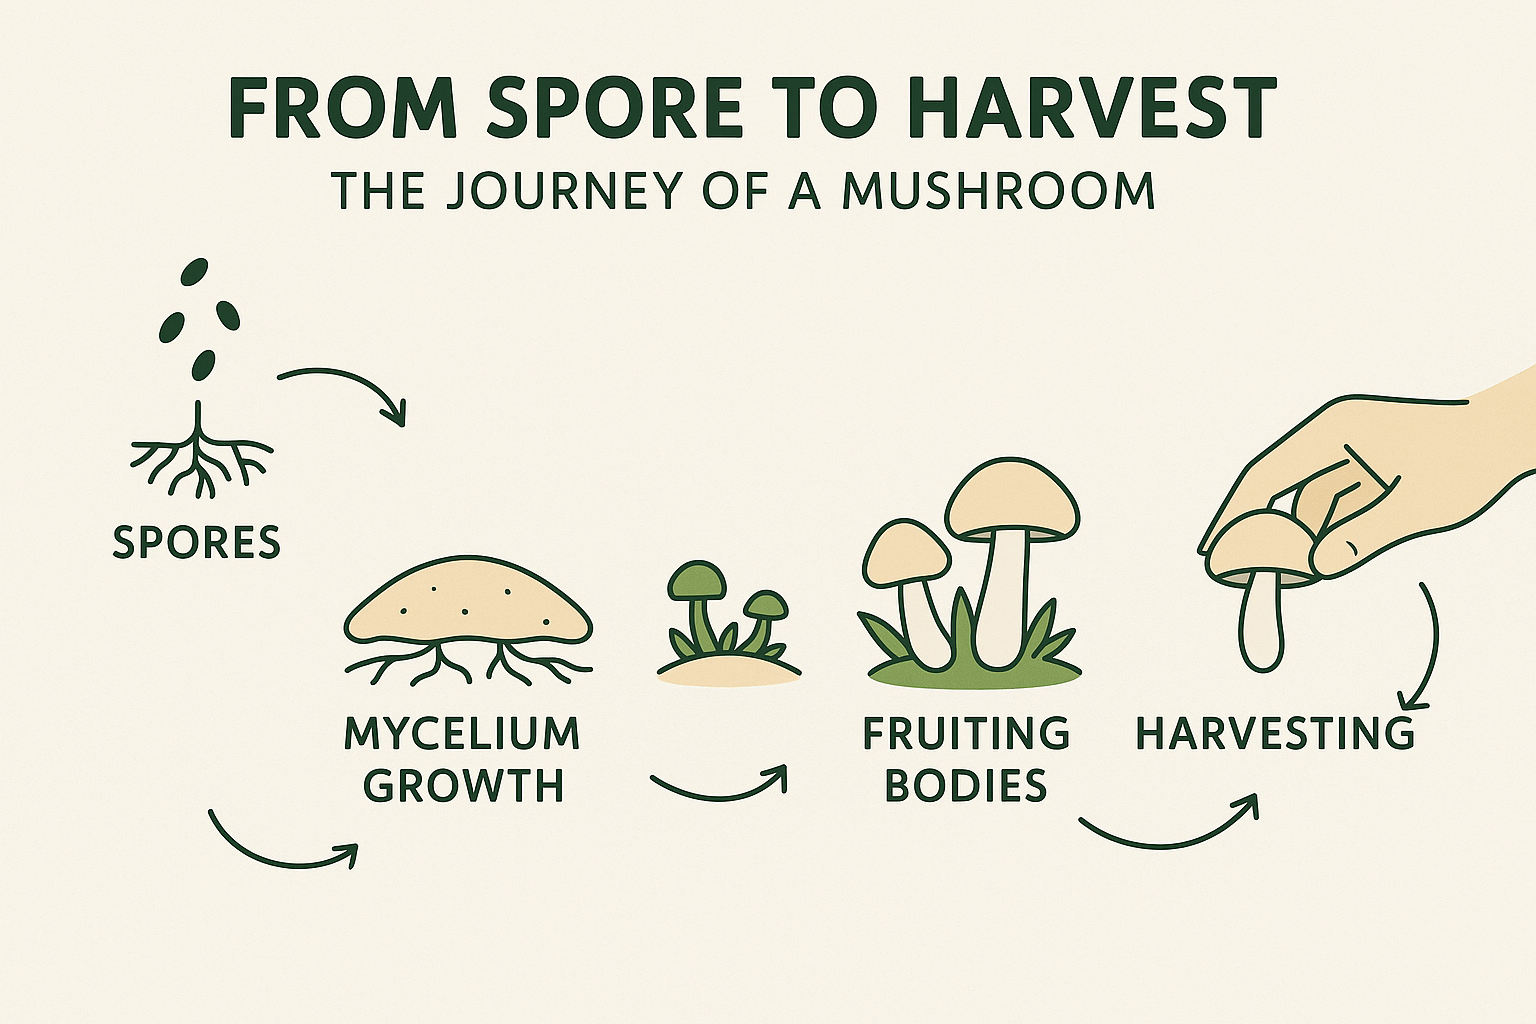
Step-by-Step Mushroom Growing Process
- Prepare the Substrate – Soak straw/sawdust, sterilize itboiling or steaming, and let it cool.
- Inoculate with Spawn – Mix mushroom spawn into the substrate and pack into bags or trays.
- Incubation Phase – Keep the bags/trays in a dark, warm place for 2–3 weeks until white mycelium spreads.
- Fruiting Phase – Move them to a humid, well-ventilated area. Spray water lightly to maintain moisture.
- Harvesting – Mushrooms are ready in 3–5 weeks depending on the variety. Twist gently to harvest.
Common Problems and How to Avoid Them
- Contamination: Ensure proper sterilization and cleanliness.
- Drying Out: Spray water to maintain humidity but don’t overwater.
- Poor Yield: Use good-quality spawn from trusted suppliers.
Tips for Beginners
- Start small (just a few bags) to gain confidence.
- Keep a daily check on temperature and moisture.
- Record your process to learn and improve for the next cycle.
- Always wear gloves and a mask when handling spawn.
Taking It Further: From Home to Business
Once you master the basics at home, you can expand into small-scale commercial mushroom farming. With low investment and high returns, it’s an excellent agribusiness opportunity.
At Orgofield Mushroom Farm, we not only grow fresh mushrooms but also provide training programs for individuals who want to scale from home setups to professional farming.
Conclusion
Growing mushrooms at home is simple, affordable, and incredibly rewarding. With the right variety, basic equipment, and proper care, you can enjoy fresh harvests in just a few weeks. Whether for your own kitchen or as the start of a profitable business, mushroom cultivation is a skill worth learning.
If you’re ready to go beyond home farming and turn your passion into a business, Orgofield is here to guide you every step of the way.
Leave a Reply